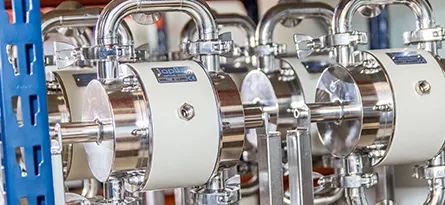





Most air-operated diaphragm pump problems come down to one of five causes: low or restricted air supply, a blocked muffler/exhaust, worn diaphragms or ball valves, solids in the pump chamber, or leaks from loose housings and damaged O-rings.
If the pump won’t run, check air pressure first. For leaks, irregular running, or lost flow, inspect diaphragms, valve seats, and tie rod tightness.
To ensure safe operation and protect your pump, and as part of a planned preventive maintenance schedule, routine, thorough inspection of the pump is recommended.
Diaphragm pump issues can show early signs, such as a change in your pump’s operating sound; this could indicate worn parts, leaks, or reduced performance.
How often you need a full inspection depends on the operating conditions: the liquid being pumped, temperature, the materials used in the pump, and running time all affect wear rates.
Tapflo recommends a full pump inspection at least once a year.
As part of that inspection:
- Replace Air and Liquid Kits annually
- Replace Valve Kits every 2 years
- Keep a Liquid Air Kit in stock to avoid costly downtime while you wait for parts
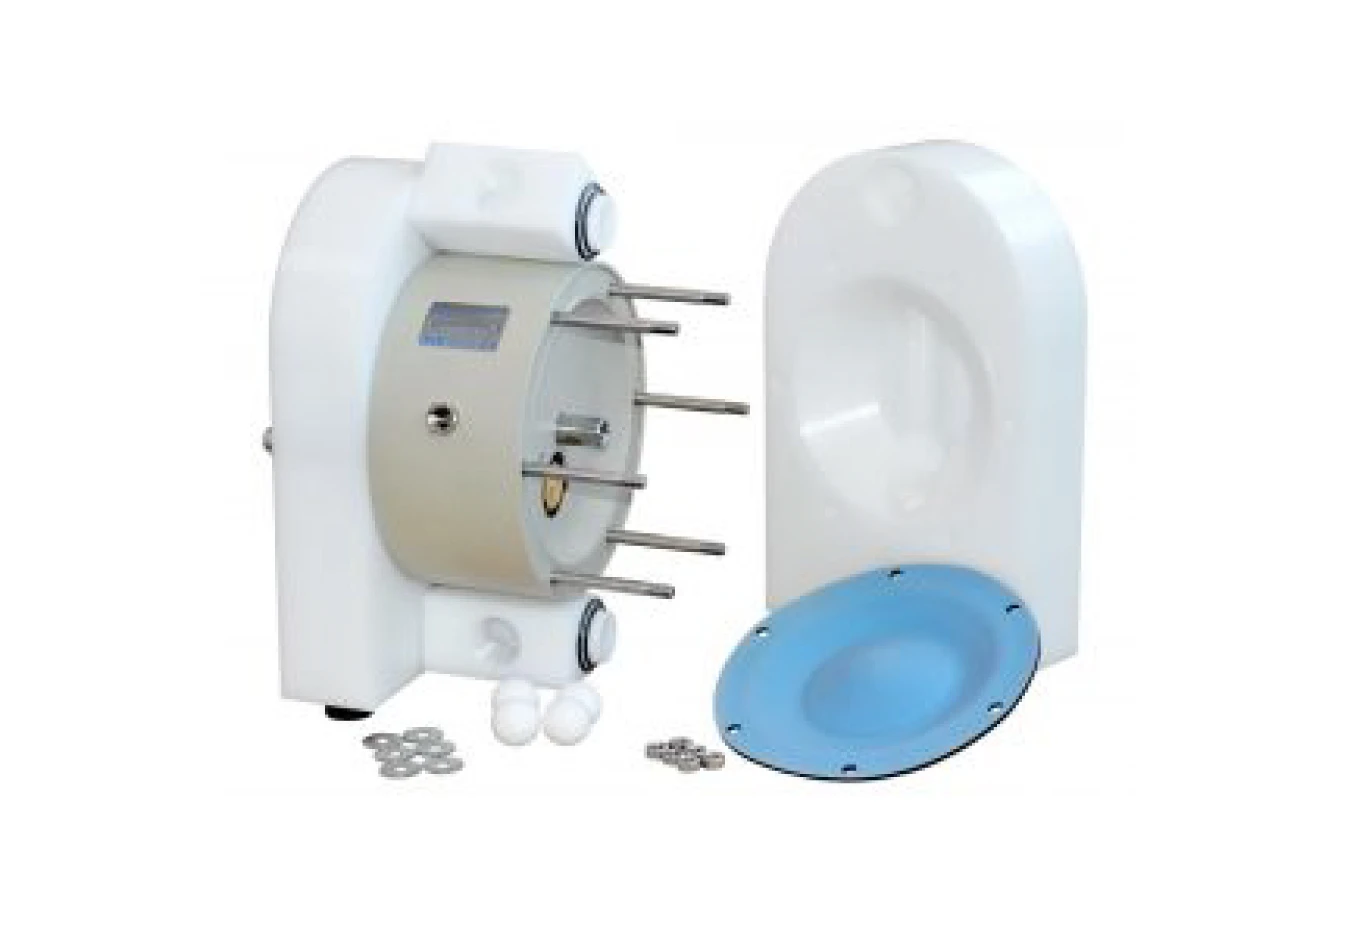
Diaphragm Pump Troubleshooting: Causes and Fixes
Your pump won’t run:
| Cause | What to check/do |
| Air pressure too low | Air supply must be above 1.2 bar and higher than the system pressure the pump is working against. Adjust at the Air Filter Regulator and confirm mains air supply is adequate. |
| Blocked air connection or contaminated air valve | Check the air supply line is clean and free of kinks or obstructions; check the air valve for internal contamination. |
| Blocked muffler or exhaust | A blocked exhaust stops the pump from expelling air efficiently. Check for obstructions and inspect the muffler’s condition. |
| Solids in the pump chamber | Settled solids can jam the diaphragms or prevent the ball valves re-seating. Clean the pump and fit a suitably sized suction filter to stop it recurring. |
| Damaged diaphragms or ball valves | Damaged, broken or misshapen diaphragms/valves reduce efficiency. Check their condition regularly. |
| Blocked suction or discharge pipework | Check manual valve positions before start-up. Clean pipework regularly if handling sticky or solids-laden fluids, as a reduced bore changes system pressure and stresses the pump. |
Poor suction
- Suction connection loose or blocked: Tighten and clean the suction line
- Muffler blocked: Check, clean or replace
- Valve balls blocked or damaged: Check their dimensions and shape
- Valve seats worn, or the pump is starting against high-pressure/dry suction: Check valve seats, start the pump slowly, vent the suction/discharge line and wet the pump before starting without discharge pressure
The pump runs irregularly
- Valve balls blocked: Check dimensions and shape
- Centre block seal or air valve defective: Replace the seal, clean/repair the air valve
- Diaphragm breakdown, worn valve seats, or icing on the muffler: Replace the diaphragm, check valve seats, and improve air quality
Poor flow or pressure
- Pressure drop in the air supply, losses on the suction side, or a leaking air valve: Increase air pressure at the filter-regulator; check the suction-side installation; check/repair/replace the air supply or air valve
- Suction or air connection blocked: Check and clean
Further Diaphragm Pump Troubleshooting
The liquid is leaking from your pump
| Cause | What to check/do |
| Loose side housings | Tie rods hold the pump body. If not tightened to the correct torque, liquid can leak from the side housing. |
| Damaged O-rings | Perished or damaged O-rings on the inlet/outlet manifolds usually mean incorrect reassembly after maintenance, or the manifold was forced into position without loosening the side housings first. |
| Diaphragm rupture | Caused by overuse, abrasion, chemical attack or overpressure. A ruptured diaphragm lets fluid leak into the air valve and out through the muffler. Replace the diaphragm and check for wear at every maintenance interval. |
| Pipework not matched to the pump | Inadequate pulsation dampening or loads beyond the manifold’s rated limits can loosen the pump and cause leaks. Match the installation to the pump. Flexible expansion bellows/hoses on suction and discharge, plus a pulsation dampener, can reduce installation stress. |
| Worn or blocked valve balls/seats | Fluid recirculates and siphons back through the pump, dropping flow and pressure. |
| Damaged diaphragms | Bent or damaged diaphragms directly reduce flow and pressure output. |
| Air supply leaks or fluctuations | Compressed air drives the AODD pump, so any change in air quality, flow or pressure affects performance. Check regularly for leaks and check the condition of air filters and moisture separators. |
| Suction/discharge pressure changes | Encrusted or leaking pipework affects performance. Check connections for leaks or air ingress, line condition, valve positioning, and suction/discharge pressure gauges. |
| Blocked or worn air valve/muffler | Damage, corrosion or dirt on the air valve, or a blocked muffler, will stop the pump from operating efficiently. Apply preventative maintenance and monitor muffler condition. |
Diaphragm breakdown
Usually caused by: incorrect material selection for the application, excessive installation pressure, long periods of dry running, or excessive suction-side pressure.
- Contact Tapflo for advice on diaphragm material selection
- Fit an air treatment system to protect the pump
- Run the pump slowly if it needs to operate dry
- Ensure pressure is balanced between the air and liquid sides of the diaphragm
Diaphragm Pump Solutions Table
| Problem | Possible Fault | Possible Solution |
| The pump does not run | The air pressure is too low | Increase air pressure via a filter-regulator |
| The air connection is blocked | Check/clean air supply connection | |
| Muffler is blocked | Check/clean/replace the muffler | |
| The air valve is defective | Clean/replace complete air valve | |
| Dirt in the pump chamber | Remove debris from the chambers | |
| Diaphragm breakdown | Replace diaphragm | |
| The suction is bad | The suction connection is not tight | Tighten the suction line |
| The suction connection is blocked | Clean suction line | |
| Muffler is blocked | Check/clean/replace the muffler | |
| Valve balls are blocked or damaged | Check the dimensions and shape of valve balls | |
| Valve seats are worn. The pump starts with high-pressure air in the suction/discharge line; dry suction against a discharge pressure | Check the dimensions and shape of valve seats. Start the pump slowly (see chapter 2.2 of manual) Vent the suction/discharge line; wet the pump/start without discharge pressure | |
| The Pump runs irregularly | Valve balls are blocked | Check the dimensions and shape of valve balls |
| Sealing in centre blocked, air valve is defective | Replace sealing. Clean/repair air valve | |
| Diaphragm breakdown; valve seats are worn | Replace diaphragm. Check dimensions and shape of valve seats. Improve air quality. | |
| Bad flow/pressure |
Pressure drop in air supply. Pressure losses on suction side air supply/air valve leaking | Increase air pressure via a filter-regulator. Check/change installation on suction side. Check/repair/replace air supply/air valve. |
| Suction or air connection blocked | Check/clean air supply/suction connection | |
| Muffler is blocked | Check/clean/replace muffler | |
| Valve ball worn or broken. Valve seats are worn | Check dimensions and shape of valve balls. Check dimensions and shape of valve seats. | |
| Air in liquid | Seal suction line; check/refill container | |
| Diaphragm Breakdown. Icing on the muffler | Check/replace diaphragms. Improve air quality | |
| Liquid leaks from the pump | Screws on the housing not properly tightened; O-ring on manifolds damaged. Damaged diaphragm tension/stress from the installation | Check tightening torques of the screws. Replace O-rings. Check/replace diaphragms. Adjust installation, eliminate stress; when using a dampener, provide separate support for it |
| Liquid comes out of the muffler | Diaphragm breakdown | Replace diaphragm |
| Diaphragm breakdown | Wrong selection of material. Too high pressure in the installation. Long periods of dry running. Too high pressure on suction side. | Contact us for information on material selection. Use an air treatment system for protection. When dry, run the pump slowly and ensure pressure balance between the air and liquid sides of the diaphragm. |
Need more help?
For further diaphragm pump troubleshooting support, refer to our product manuals and downloads or contact the team to arrange a site visit.